
Introduction
There is a special kind of magic in wearing or gifting something that truly no one else has. In a world flooded with mass-produced goods, unique custom embroidery patterns offer a refreshing alternative that speaks to individuality and craftsmanship. Unique Custom Embroidery Patterns are more than just decorative stitches, they are expressions of personality, stories told in thread, and art that you can wear.
The demand for personalized embroidery has exploded in recent years. More than 55% of consumers now prefer customized garments over mass-produced alternatives, and online sales of custom clothing have grown by 70% over the last three years. People are no longer satisfied with generic designs. They want their embroidery to mean something, whether it is a beloved pet portrait on a jacket, a meaningful quote on a hoodie, or a custom logo that represents their brand.
Creating truly unique embroidery patterns is both an art and a skill. It requires creativity, technical knowledge, and an understanding of how thread behaves on fabric. But the good news is that anyone can learn to design their own patterns with the right guidance and a bit of practice. This guide will walk you through everything you need to know, from finding inspiration to mastering the digitizing process and avoiding common pitfalls.
Finding Your Creative Inspiration
Every great embroidery pattern starts with a spark of inspiration. The beauty of creating custom designs is that you can draw inspiration from literally anything around you. Nature is an endless source of ideas, think delicate flowers, sweeping landscapes, or intricate leaf patterns. Personal experiences, like a favorite vacation spot, a meaningful date, or a beloved pet, can become deeply personal embroidery motifs. Cultural heritage, family crests, and traditional patterns from your background are also rich sources of unique designs.
Digital tools can be incredibly helpful for capturing and developing inspiration. Pinterest and Instagram are treasure troves of embroidery ideas and color combinations. Apps like Procreate let you sketch and refine designs on your tablet. Even taking photos of interesting textures, patterns, and colors in your everyday life can spark ideas for your next project.
The key is to keep an open mind and a sketchbook handy. Jot down ideas, doodle shapes, and collect images that catch your eye. Over time, you will develop a personal style that sets your embroidery apart from everything else out there.
From Sketch to Stitch-Ready Artwork
Once you have a concept in mind, the next step is turning that idea into artwork that can be digitized. This does not require you to be a professional artist. Simple, bold designs often translate best to embroidery.
Start by sketching your design on paper or using a digital drawing app. Focus on clear outlines and distinct shapes. Embroidery machines work best with designs that have defined edges and solid areas of color. Think about how your design would look as a coloring book page, bold and simple. Avoid overly intricate details, tiny lines, and complex shading, as these can get lost or muddy when translated into stitches.
For text, keep it bold and legible. Letters should be at least a quarter of an inch tall. Fancy scripts might look beautiful on paper but can be challenging to stitch cleanly. If you are designing a logo, consider simplifying it for embroidery. Professional digitizers often suggest removing small text and fine details to ensure the design stitches out cleanly.
Color is another important consideration. Embroidery uses solid thread colors, so limit your palette to a handful of well-chosen shades. Gradients and blends that work in digital art do not translate to embroidery. Instead, use different densities and stitch angles to create texture and depth within a single color.
The Art of Digitizing
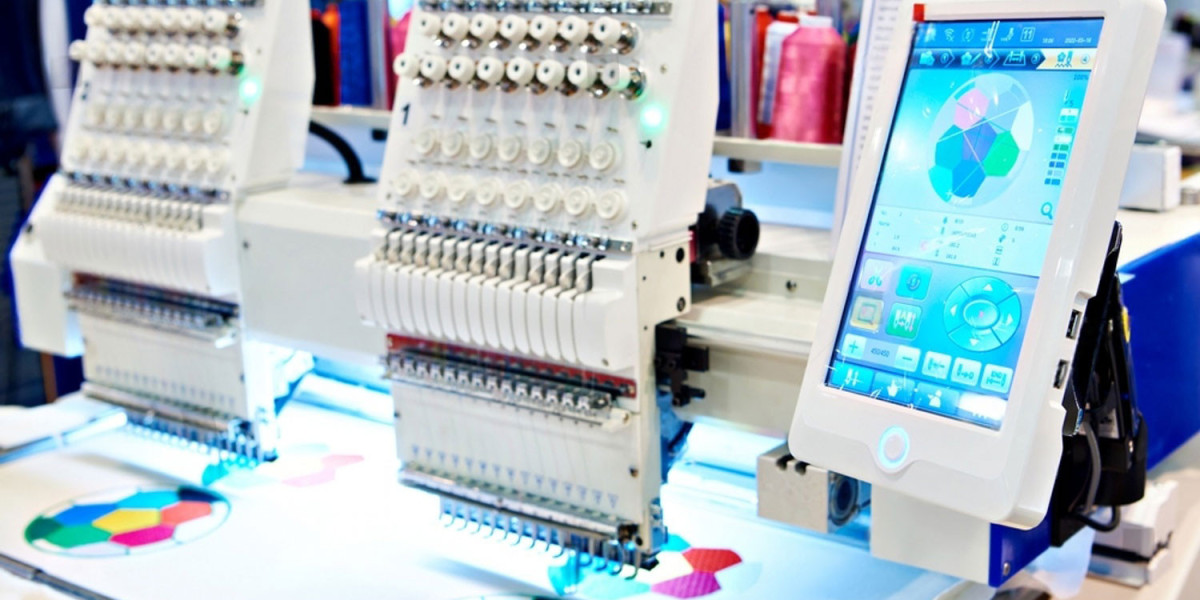
Digitizing is the process of converting your artwork into a stitch file that your embroidery machine can read. This is where your design transforms from a visual concept into a set of precise instructions for the needle.
If you are new to digitizing, start with simpler designs. Practice on basic shapes and gradually work up to more complex patterns as your skills improve. There are several software options available, ranging from professional programs like Hatch and Wilcom to free alternatives like Ink/Stitch. Professional software gives you the most control, but free options are excellent for learning the ropes.
When you digitize, you are making key decisions about stitch types, direction, and density. Satin stitches work best for outlines, text, and narrow elements. Fill stitches, also known as tatami stitches, cover larger areas. Running stitches handle fine details and travel paths between elements. The direction of your stitches affects how light reflects off the design, so think carefully about which direction will look best for each part of your pattern.
Underlay is another critical element that many beginners overlook. Underlay stitches go down before the top stitches and provide a stable base that prevents the fabric from shifting or puckering. Edge run underlay follows the outline of the design and is great for preventing distortion in satin stitches. Zigzag underlay provides a grid-like base for fill areas. Choosing the right underlay for your fabric and design makes a huge difference in the final result.
Making Your Designs Truly Unique
Creating unique custom embroidery patterns is about more than just drawing and digitizing. It is about infusing your personal style and creativity into every aspect of the design.
Experiment with different textures and materials. Metallic threads add sparkle and drama. Rayon thread has a beautiful sheen that catches the light. Polyester thread is durable and colorfast. Combining different thread types can create stunning effects that stand out from typical embroidery.
Consider playing with dimension. 3D puff embroidery creates raised, tactile designs that command attention. Layering stitches and using different densities can add depth to flat designs. You can also incorporate beads, sequins, or other embellishments for a truly one-of-a-kind look.
Do not be afraid to break the rules. Some of the most memorable embroidery designs come from unexpected combinations and creative risks. Mix bold colors with soft pastels. Combine modern geometric shapes with organic floral elements. The only limit is your imagination.
Working with a Professional Digitizer
If digitizing feels overwhelming, you can always work with a professional digitizer. This is especially common for logos, complex designs, and commercial projects where quality and consistency are critical.
Professional digitizers have years of experience and understand how different fabrics behave. They know how to balance density to prevent puckering, set up underlay for stability, and adjust pull compensation to maintain the design's shape. They can also suggest simplifications that maintain the integrity of your design while making it embroidery-friendly.
When you work with a digitizer, provide the best possible artwork. Vector files like SVG, AI, or EPS are ideal. If you only have a raster image, aim for at least 300 DPI. Be clear about the fabric you will be using, the intended size of the design, and any specific preferences you have. A good digitizer will work with you to refine the design until it is perfect.
Testing and Refining Your Patterns
The step that separates good embroidery from great embroidery is testing. Always stitch out a test sample on the actual fabric you will be using. This allows you to see the design in real life and catch any issues before you commit to a larger project.
Pay attention to how the design looks on the fabric. Are the colors accurate? Does the density feel right, or is the fabric puckering? Is the text legible? Use the test sample to make adjustments in your digitizing software and test again. This iterative process is normal and part of creating high-quality embroidery.
If you are working with a professional digitizer, ask for a test stitch or a simulation preview before finalizing the file. Most reputable digitizing services include test stitching as part of their quality assurance process. It is much easier to make changes at this stage than after you have embroidered dozens of items.
Avoiding Common Mistakes
Creating unique custom embroidery patterns comes with its share of pitfalls. One of the most common is starting with artwork that is too complex. Fine details, small text, and intricate patterns often do not translate well to thread. Simplify your design before digitizing to ensure clean, readable results.
Another mistake is ignoring fabric choice. A design that stitches beautifully on canvas might pucker or distort on a lightweight knit. Always consider your fabric and discuss it with your digitizer if you are outsourcing.
Skipping the test stitch is a major mistake. Test every new design on sample fabric before starting your main project. This catches issues early and saves you from wasting materials and time.
Finally, do not neglect machine maintenance. Dull needles, lint buildup, and tension issues can ruin even the best design. Keep your machine clean, change needles regularly, and check tension before each project.
Conclusion
Creating unique custom embroidery patterns is a deeply rewarding journey. It combines artistic expression with technical skill, turning your creative ideas into tangible, wearable art. Whether you are designing a personal project, building a brand, or creating meaningful gifts, custom embroidery allows you to make something truly one-of-a-kind.
The process starts with inspiration. Find what moves you and sketch it out. Then, consider how your design will translate to thread. Simplify where needed, choose colors thoughtfully, and digitize with care. If digitizing feels like too much, professional digitizers are there to help. And always, always test your designs before committing to the final project.
The beauty of custom embroidery is that there are no limits. Your designs can be as bold or as subtle, as simple or as intricate, as you want them to be. With practice, patience, and a little creativity, you can create embroidery patterns that are as unique as you are. So go ahead, pick up that pencil or that stylus, and start creating. Your next masterpiece is waiting to be stitched.